

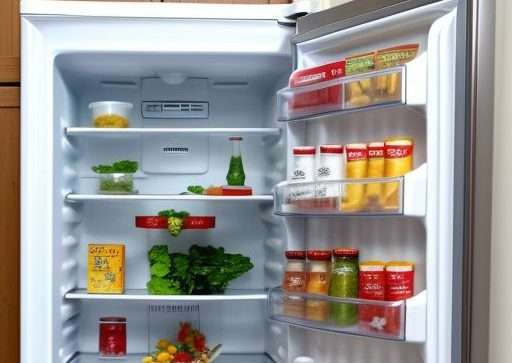
A clean fridge is the heart of a fresh kitchen. Cleaning the fridge extends the shelf life of food and reduces the risk of unpleasant bacteria taking hold.
How often should the fridge be cleaned?
A good rule of thumb is to wipe out the fridge lightly every week and do a more thorough cleaning of the whole fridge every two months.
Keeping the fridge clean and organised
That keeping the fridge clean and organised is an easy way to extend the shelf life of your food, reduce the risk of bacterial growth and keep your kitchen fresh. A well-cleaned fridge also prevents odours from spreading to new items and gives you a clear overview of what's at home. Regular maintenance reduces the risk of food waste and helps you avoid throwing away food that has been forgotten at the back. Here's a step-by-step guide to a clean and well-organised fridge that will keep both your food and you happier!
Clean the fridge quickly - step by step
To make fridge cleaning easy and effective, you only need a few basic cleaning items: warm water, washing-up liquid, a cloth or sponge and possibly some vinegar or baking soda for stubborn stains. If you have a cooler, it can be handy to store your food there in the meantime, especially if the cleaning takes a little longer.
Step 1: Empty the fridge and organise old food
Start by taking out all the food. Wash shelves and drawers in lukewarm water and wipe the inside. Be sure to throw away anything that's expired or looks suspicious. Doing a monthly purge of old leftovers and leftover cans will help you keep better track of what needs to be used up, both saving money and reducing food waste.
Step 2: Take out and clean shelves and drawers
Most refrigerators have removable shelves and drawers, making cleaning much easier. Take out anything that can be detached and wash them in warm water and washing-up liquid. If you have stubborn stains, you can rub gently with a sponge and a little baking soda, which has a mild abrasive effect without scratching the surface. Allow the shelves to dry thoroughly before putting them back in place.
Step 3: Clean the inside of the fridge
With a cloth and a mild detergent, wipe all internal surfaces. If you want to avoid harsh chemicals, you can use vinegar diluted with water, which effectively removes odours and bacteria. Don't forget to clean the rubber seal around the door - this is where dirt and bacteria can accumulate, which can affect the efficiency of the fridge.
Step 4: Put everything back and organise the food
Once all the shelves and drawers are back in place, it's time to fill the fridge. Place more delicate items such as dairy products in the coldest places, usually at the back. Raw meat should be stored at the bottom to minimise the risk of liquid dripping onto other foods. Feel free to use storage boxes to keep small items organised and avoid food items being forgotten. If you are not particularly interested in cooking, shopping bags can be an alternative.
Get rid of bad odours in the fridge permanently
Bad odours in the fridge are often caused by spills. A classic housewife trick is to set up a small bowl of bicarbonate of soda to neutralise odours. Also, make sure to wipe up spillages immediately and schedule regular cleaning sessions, ideally once a month. This will make fridge cleaning less time-consuming and allow you to keep track of what needs to be used.
Best and most gentle fridge cleaner
Stay away from harsh chemicals. Soap and water are often all you need to clean the inside of your fridge. A clean fridge is great, but it doesn't solve the whole life puzzle. When you book recurring home cleaning with us, we'll make sure the whole kitchen and all appliances are kept sparkling clean on the outside. You fix the fridge, we do the rest.